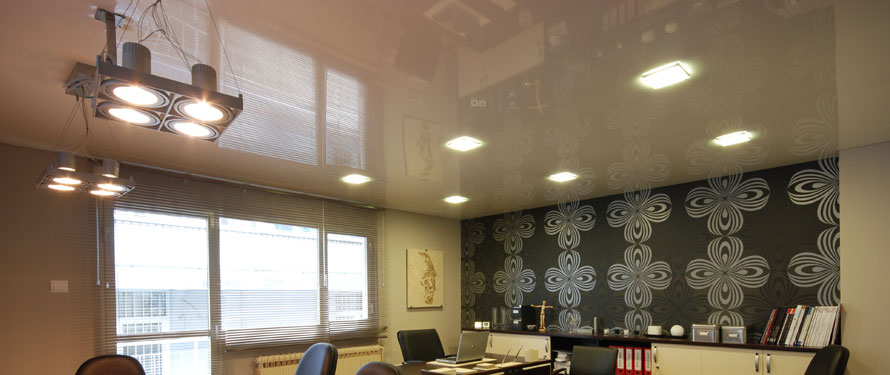
Briefly how stretch ceiling installation is done: the track is screw fixed to the walls, soffit, frame or some other form of rigid structure. The sheet material is made (approx. 6% smaller than the survey measurements) at the production facilities and shipped to the site normally within 14 days. On site, the material is warmed up to 104-115° F, stretched and using special spatula tools clipped into the tracking system. As a final step openings for recessed lighting, vents, sprinklers and etc. are cut out and reinforcing rings get applied to the membrane therefore allowing final fittings to be installed.
Team of two professionals can complete 50-100 square metres of a flat ceiling installation per day as long as all required installation conditiona have been met. All the hard work is always done behind the scene in our office and fabrication facility, the actual ceiling installation is fast, clean and efficient.
Required tools to start the installation are as follows:
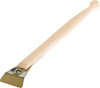
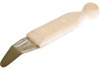
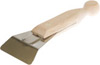
- Short, Long & Angled Spatula
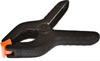
- Clamps (4+)
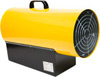
- Propane gas forced air heater
- Ladder
- Re-enforcement rings (to create perforations for sprinklers, vents, can lights and etc.)
- LOCTITE Super Glue (for installation of reinforcement rings)


STEPS TO INSTALLING FLAT WALL TO WALL CEILING:
- Walls, roof and electrical works need to be completed before the installation of the stretch ceiling.
- A horizontal line is to be made using laser or chock line to identify the level where stretch ceiling profiles will be attached
- Profiles for all internal and external corners should be pre-cut and installed
- All corners around the perimeter of the room should be joint together to make a continues line
- All corners and profile edges need to be checked and hand-filled as necessary to avoid stretch ceiling membrane puncture
- Carefully unpack stretch ceiling, avoid having ceiling touch any dirty or unprotected floors or tools, make sure you have clean hands while handling the stretch ceiling.
- Use special clamps to suspend stretch ceiling near by the corner areas
- Use forced air heater to worm up the room to around 104-110ºF
- To speed up installation close any cold air draft including doors, windows, a/c and etc.
- Once the membrane gets soft, flexible and wrinkle free, the installation of stretch ceiling may begin.
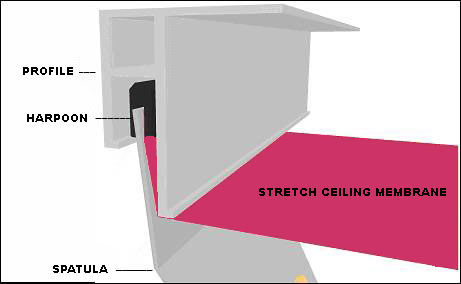
Follow the diagram below to help to understand how the membrane is inserted into the profile.

- Using the spatula insert it into harpoon of a membrane, stretch it and hook into profile
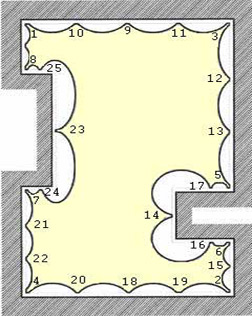
- Start with the first corner and continue with each opposite corner at a time
- Once all the corners installed continue installing all the center area and then the rest of the stretch ceiling
Please note, membrane around pipes should be reinforced with a translucent acrylic panel, getting around the pipes. The system should not visible after installation. Curved profiles can be made to go around the pipes and other curved elements.
All stretch ceiling membranes are generally reduced by 6%, therefore one the ceiling is stretch and installed it remains flat and guarantee from sagging.
Accessories such as can lights, vents, sprinklers and anything that might have to hang below of the stretch ceiling, must have support from above. The stretch ceiling cannot support any of these accessories on its own. Special reinforcement rings should be applied with STCeiling Super Glue to the membrane where perforation is required.
